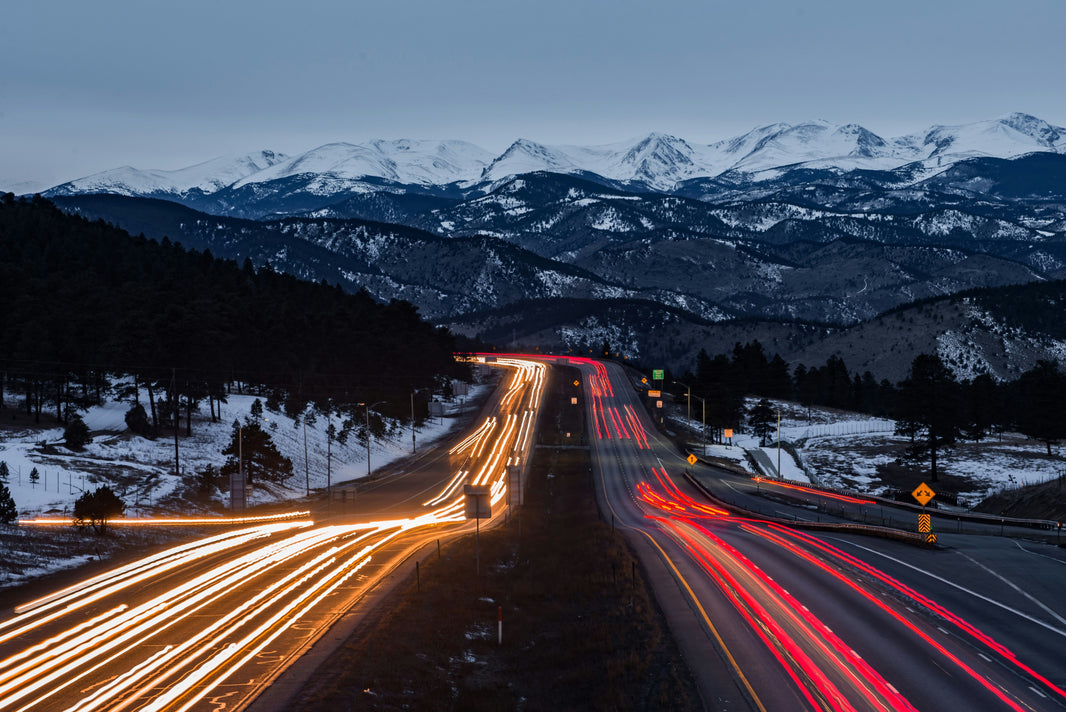
Your product photos look amazing. But they're also killing your conversion rate. Images typically account for 50-70% of total page weight on Shopify stores. A single unoptimized product image can be 3-5MB. Load five of them on a page and you're forcing customers to download 15MB just to see your products. On mobile, that's 8-12 seconds of staring at a blank screen. Most people leave after 3 seconds.
This is The Tech Ceiling. Your store can't do what you need it to do because the technical foundation is holding you back. Image optimization is the fastest way to break through it.
Why Image Optimization Actually Matters
Every second of load time costs you money. Google found that as page load time goes from 1 second to 3 seconds, bounce rate increases by 32%. From 1 to 5 seconds, it jumps 90%. From 1 to 10 seconds, 123%.
Real Cost Example: A store doing $100k/month with a 2% conversion rate and 5-second load time could gain $15k-$25k/month by cutting load time to 2 seconds. That's $180k-$300k annually from image optimization alone.
Images are the biggest contributor to slow load times, but they're also the easiest to fix. You don't need a developer. You don't need to rebuild your theme. You just need to optimize images Shopify serves to your customers.
The Four Pillars of Image Optimization
1. Proper Image Sizing
Most stores upload images that are way too large. You take a 4000x4000px photo from your photographer and upload it directly to Shopify. Then Shopify displays it at 800x800px on desktop and 400x400px on mobile. You're forcing customers to download 16x more data than they need.
What's Actually Happening: Your 3.2MB product image gets displayed at 600px wide. The customer downloads 3.2MB to see a 600px image. They needed 150KB maximum.
Here's what you actually need:
- Product images: 2048x2048px maximum (Shopify's recommended size)
- Collection images: 1800x1200px
- Slideshow/hero images: 2400x1600px
- Thumbnails: 600x600px
Shopify automatically creates smaller versions, but starting with reasonable dimensions means less processing and faster initial uploads.
2. Compression Without Quality Loss
Compression reduces file size without making images look worse. There are two types: lossy and lossless. For Shopify stores, you want lossy compression at 80-85% quality. The human eye can't tell the difference, but file sizes drop 60-80%.
Tools to optimize images Shopify stores use:
- TinyPNG/TinyJPG: Free, drag-and-drop, handles 20 images at once
- Shopify Image Optimizer apps: Crush.pics, TinyIMG, Optimole (automated compression)
- Squoosh: Google's free tool with advanced controls
- ImageOptim (Mac): Batch processing for local files
Before uploading any image to Shopify, run it through compression. A 2.8MB image becomes 400KB. Same visual quality. 85% smaller file.
3. Next-Gen Formats (WebP)
WebP is a modern image format that's 25-35% smaller than JPEG at the same quality level. It's supported by 95%+ of browsers now. Shopify automatically serves WebP to supported browsers if you upload it, or you can use apps that convert on the fly.
Real Comparison: A product image at 800x800px: JPEG (compressed): 180KB WebP (same quality): 120KB That's 33% smaller with zero visual difference.
You can convert images to WebP before uploading using Squoosh or Convertio, or use a Shopify app like TinyIMG that handles conversion automatically.
4. Lazy Loading Implementation
Lazy loading means images only load when they're about to appear on screen. If you have 20 product images on a collection page, why load all 20 when the customer can only see the first 4?
Modern Shopify themes (2.0+) have lazy loading built in. Older themes might not. Check by viewing your collection page source code and looking for loading="lazy" on image tags.
If your theme doesn't support it, apps like Booster or Fera can add lazy loading without touching code.
The Optimization Workflow That Actually Works
Here's the exact process to optimize images Shopify stores should follow:
For New Images
- Resize to proper dimensions (2048x2048px for products)
- Run through TinyPNG or similar compression tool
- Convert to WebP if your theme supports it
- Upload to Shopify
- Add descriptive alt text (helps SEO and accessibility)
For Existing Images
- Install an image optimization app (Crush.pics or TinyIMG)
- Run bulk optimization on all existing images
- Review results and check for any quality issues
- Set up automatic optimization for future uploads
The bulk optimization takes 15-30 minutes to set up and runs automatically. Most stores see 40-60% reduction in total image weight.
Common Mistakes to Avoid
Over-compressing: Don't go below 75% quality on product images. Customers need to see detail. Test on mobile to make sure images still look sharp.
Ignoring mobile dimensions: Most traffic is mobile. Your 2000px wide image displays at 400px on phones. Optimize for what customers actually see.
Forgetting about background images: Hero images and section backgrounds count too. These are often the largest files on your site.
Not testing after optimization: Always check your store after bulk optimization. Occasionally an image will compress poorly and need manual adjustment.
How to Measure the Impact
Before you optimize images Shopify serves, measure your baseline:
- Run your homepage through Google PageSpeed Insights
- Check a product page and collection page too
- Note your overall performance score and largest contentful paint (LCP) time
After optimization, run the same tests. You should see:
- 40-60% reduction in page weight
- 2-4 second improvement in load time
- LCP under 2.5 seconds (Google's "good" threshold)
- Performance score increase of 15-30 points
What This Actually Means: Faster load times lead to lower bounce rates, higher conversion rates, and better Google rankings. A store that was losing 40% of mobile visitors to slow load times might cut that to 15%. That's real revenue.
The Automated Approach
If you're adding products regularly, manual optimization gets tedious. Set up automation:
Option 1: Use a Shopify app that optimises on upload. TinyIMG and Crush.pics both offer this. Every new image gets compressed automatically.
Option 2: Build it into your workflow. Before uploading to Shopify, images go through TinyPNG. Make it a standard step like writing product descriptions.
Option 3: Use Shopify's CDN effectively. Shopify automatically serves appropriately sized images based on device. Make sure your theme uses Shopify's image filters (img_url) properly.
The best approach combines all three. Optimize before upload, use an app for backup compression, and ensure your theme leverages Shopify's built-in optimization.
When Image Optimization Isn't Enough
Sometimes you optimise images Shopify uses and load times are still slow. That means the problem is elsewhere:
- Too many apps (each adds code that slows the site)
- Unoptimized theme code
- Too many third-party scripts (Facebook Pixel, Google Analytics, etc.)
- Server response time issues
Image optimization should get you 60-70% of the way to fast load times. If it doesn't, you're dealing with The Tech Ceiling at a deeper level.